Setting Up a Printer on MacOS X Operating Systems
Mobility Print allows you to print from your personal devices, including computers, tablets, and phones connected to the RUWireless Secure network.
- To set up a new printer, and to print to CS printers, your computer must be connected to RUNet, RUWireless Secure, or University VPN. You may be asked to authenticate with your NetID credentials.
- After printing, you must go to the printer room and release the job with your RUID.
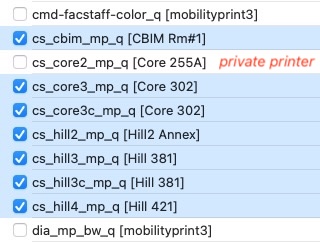
- All our printers are accessible to everyone who has access to the room where the printer is located.
Below are the old steps that should no longer be followed to set up your printers on your notebook. It is left for reference only.
Old Setup info
Step 1: Download a Postscript Driver.
A. For MacOS 15 and newer
Unfortunately, HP has made it very difficult to get the software. Follow these steps.
- Download HP Easy Admin app zip file.
- Go to your download folder, unzip it, and open HP Easy Admin app.
- Enter ‘M609dn‘ in the download screen to search for drivers. This should return Essential Software.
- Check the box for Essential Software. and click Download to download the driver. This should download hp-printer-essentials-UniPS-x.y.pkg.
B. For older MaOS.
If you have not done it, download HP Printer Drivers for OS X, and install the driver before continuing. Unless you print a poster, if you choose “Generic Postscript,” your job should print ok.
If you want to use the driver for that specific printer, make sure the driver chosen is a Postscript driver. Choosing otherwise will cause your print job to print junk or not print. Please note that when we change printers in the future, you may also need to modify your driver.
Step 2: Add a Printer
To set up a new printer, your MacOS must be connected to RUNet, RUWireless Secure, or University VPN. To start, follow the steps below:
A. For MacOSX 12 and Prior
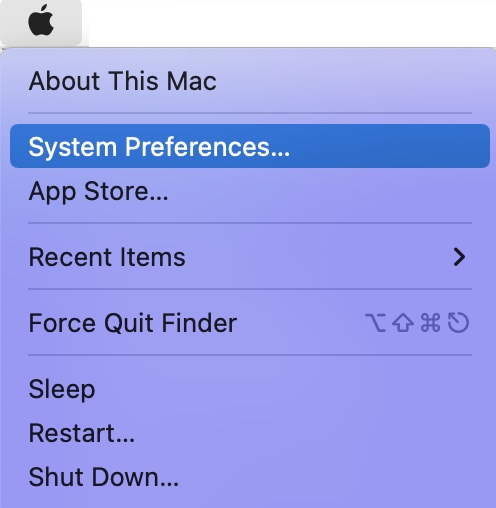
- Click on the Apple Menu, then select the System Preferences menu to open the System Preferences window.
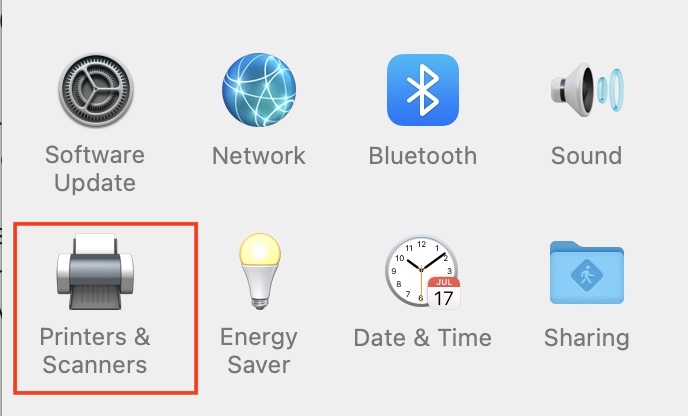
- A window will open. Look for and Click on the Print & Scanners icon to open it
- To add a new printer queue, click the [+] icon at the bottom of the window. Note that you may need to click the Padlock icon to make changes.
- A window, as seen above, will open. Now, you need to enter specific settings for the core3 printer as shown:
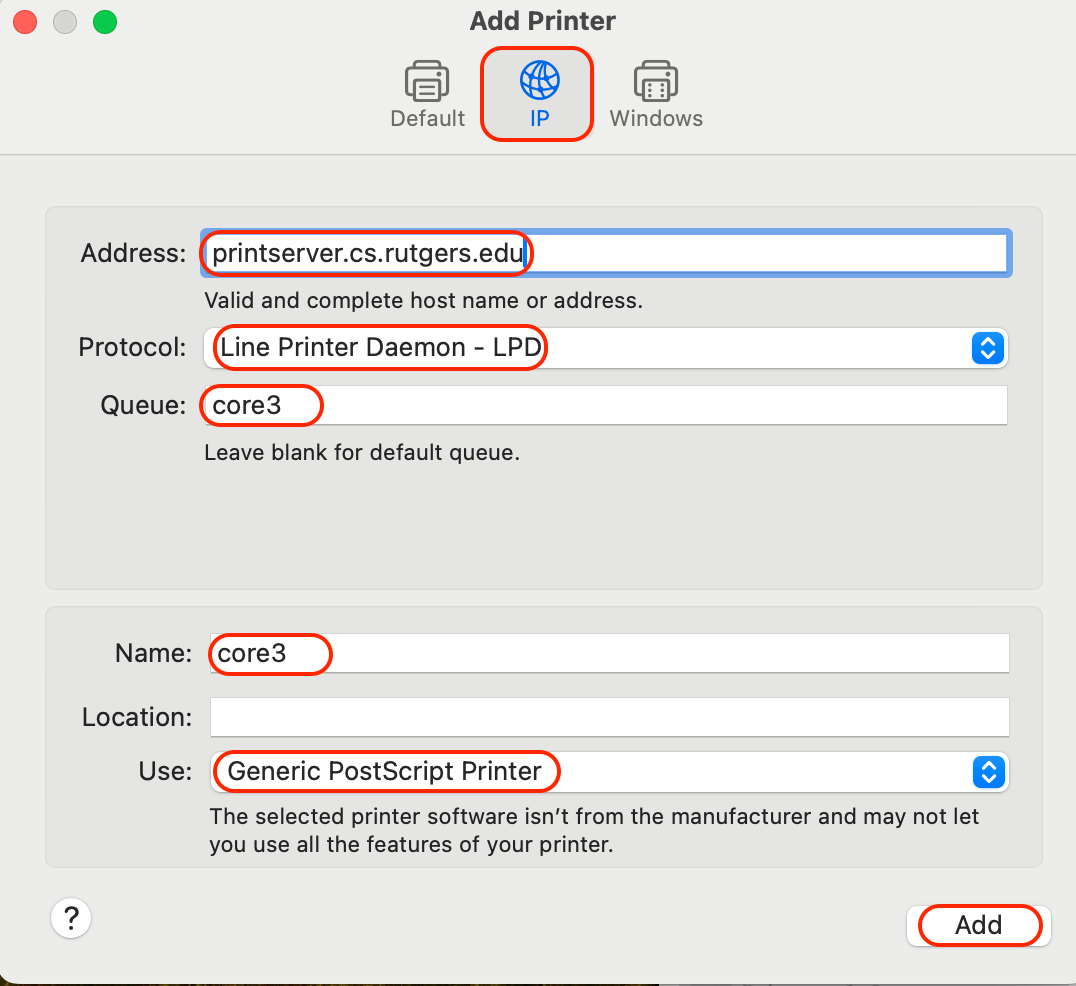
- Click the [Add] button to add it. A setting window will open.
- An option window for your newly created queue will open. Set options for your printer as needed. This option is different for each printer. Only enable it if you know the option exists.
- core3 supports Duplex printing. Click on the Duplex check box to enable double-sided printing.|
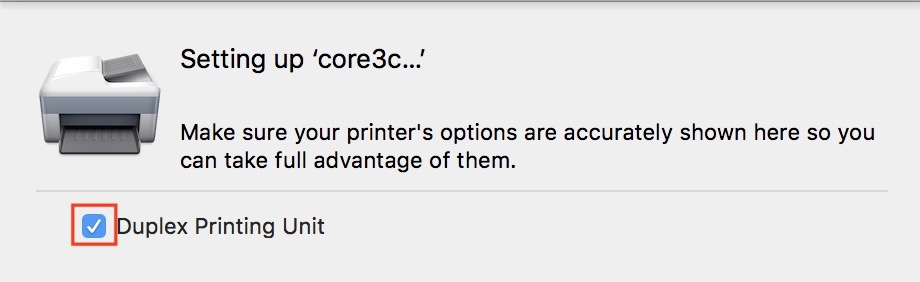
- Click the Continue button to finish the printer setup. Enter them to complete this process.
- Click on the Apple Menu, then select the System Preferences menu to open the System Preferences window.
B. For MacOS X 13 and Later
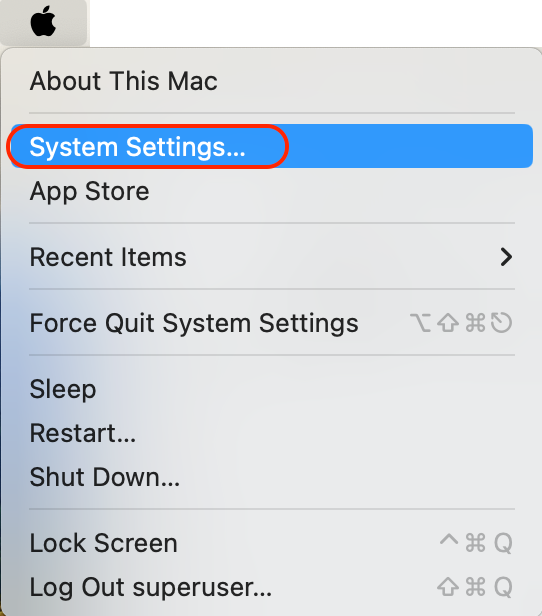
- Click on the Apple Menu, then select the System Settings menu.
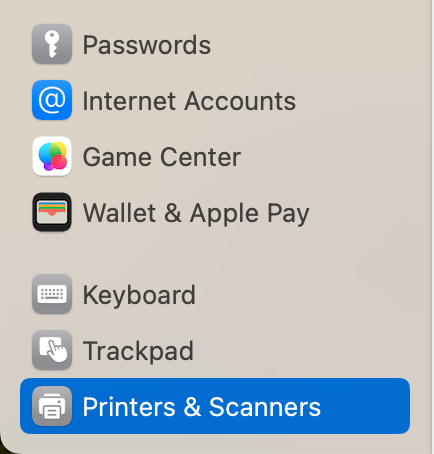
- A window will open. Look for and Click on the Print & Scanners on the left side of the menu
- Click on the [Add Printer, Scanner, of Fax…] button to open the Add Printer window and fill it as shown below.
- Click the [Add] button to add the printer. A setting window will open.
- An option window for your newly created queue will open. Set options for your printer as needed. This option is different for each printer. Only enable it if you know the option exists.

- core3 supports Duplex printing. Click on the Duplex check box to enable double-sided printing and click the [OK] button to finish.
- Click on the Apple Menu, then select the System Settings menu.
C. For Advanced Users.
- If you are comfortable with using a script. You can create All CS Printers with a single zsh script. Save this SetCSPrinters.zsh script to your MacOS and run it in a terminal. This script requires installing the HP Printer Drivers for OS X first, as described in Step 1.
IMPORTANT: Please set a specific printer for your default printer. Example: core3.
![]()
Please DO NOT use the default [Last Printer Used] as this will cause accidental printing to the printer. You may not want to print like the poster printer.
For help with our systems or immediate assistance, visit LCSR Operator at CoRE 235 or call 848-445-2443. Otherwise, see CS HelpDesk. Don’t forget to include your NetID along with descriptions of your problem.
